Recipes

Sauce Recipe Blog Post
Nutrition & Meal Prep, Recipes

The Secret’s in the Sauce (and These Four Slap)

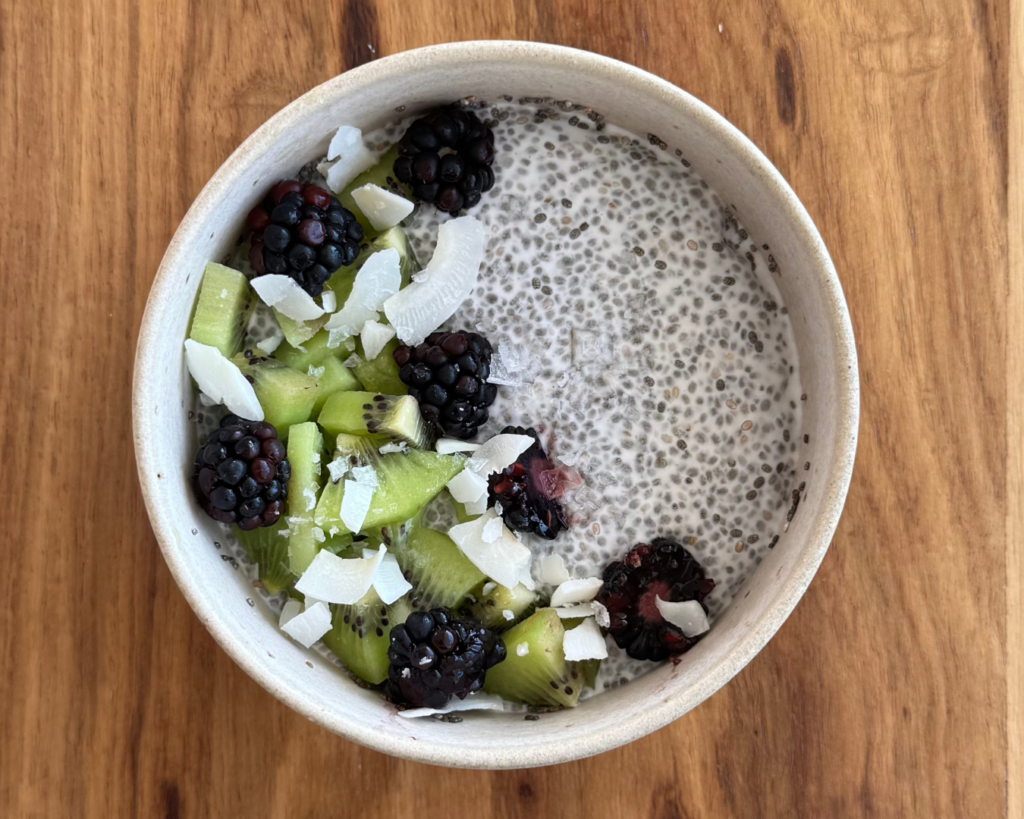
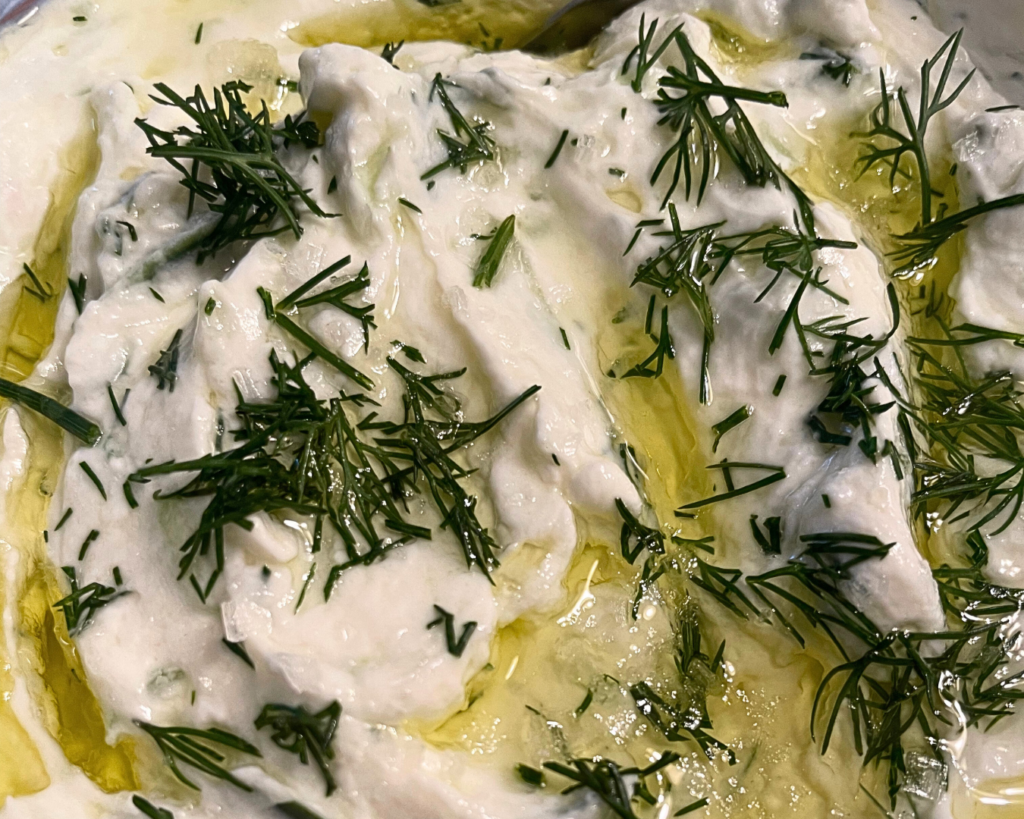
The Secret’s In the Sauce (and These Four Slap!) May 2, 2025 Ready to take your meals from basic to bold? Start with the sauce. I’m sharing four of my favorite go-to homemade sauces: tzatziki, chimichurri, salsa verde, and a simple homemade mayo. Each one is packed with flavor, made with fresh ingredients, and comes together quickly in your kitchen. And these sauces are so good they slap! Whether you’re meal prepping, assembling protein bowls, or just trying to eat healthier without sacrificing taste, these sauces are game-changers. Once you try them, store-bought will never be the same. Did I mention they take minimal time to make? Tzatziki Ingredients 12 oz full fat greek yogurt1 lemonflaky sea salt, to tastecrushed black pepper, to tastefresh dill weed2 garlic cloves 1 english cucumber extra virgin olive oil Directions Juice and zest your lemon. Grate garlic cloves. Chop your dill. Mix together greek yogurt, lemon juice, lemon zest, salt, pepper, garlic, and dill. Set aside. Grate cucumber (with the skin on). Squeeze excess water out of cucumber with a cheesecloth, clean kitchen towel, or paper towel. Discard cucumber water. Incorporate grated cucumber into yogurt mixture. Add olive oil to taste & serve immediately. Or hold off on olive oil if you plan to store in the fridge. Note: You may substitute garlic powder for chopped garlic if you do not have fresh garlic on hand. Chimichurri Ingredients 1 bunch cilantro1 bunch flat leaf parsley 4 cloves garlichalf yellow onionitalian seasoning blendsalt + pepper, to tastecrushed red pepper flakes splash of red wine vinegarextra virgin olive oil Directions Dice the garlic, chop the onion, and add these plus a splash of olive oil, vinegar, and the seasonings into a bowl to aerate. Set aside. Remove stems from cilantro and parsley. Rough chop and combine. Mix everything together in a large bowl. Slowing stir in more olive oil until desired consistency. Taste for saltiness and acidity, and add more salt and/or vinegar if desired. Note: Over-processing in a food processor can lead to bitterness from the breakdown of the cilantro and parsley. Best option is to hand chop and combine all ingredients without a blender. Salsa Verde Ingredients 2 lbs fresh tomatillos, leaves pulled & rinsed to remove stickiness + residue 2-3 serrano peppers*6 cloves garlichalf large white onion1 bunch cilantrosea salt *depending on heat tolerance Directions Placed rinsed, whole tomatillos, whole serranos, and halved onion on a baking sheet under the broiler in your oven until skins begin to char and blister, 3-5 minutes. Rotate once and place back under broiler for another 3-5 minutes. Remove and let cool completely to room temperature. Chop onion and garlic cloves. Remove stems from cilantro bunch. Place tomatillos, serrano peppers, onion, garlic, and cilantro in a food processor. Slowly pulse until desired consistency. Salt to taste. Notes: You may substitute jalapeño peppers for less heat. Char veg over an open flame if possible! The Best Homemade Mayo Ingredients 1 large egg (room temperature)1 tablespoon Dijon mustard1 tablespoon fresh lemon juice (or white wine vinegar)1 cup (240 mL) avocado oil½ teaspoon fine sea salt optional adds: 1 small garlic clove (for aioli-style mayo), pinch of ground black pepper Directions In a tall, narrow jar or glass that fits your immersion blender, add the egg, mustard, lemon juice, and salt. Pour the oil on top. Let the mixture settle for 10–15 seconds. Place the immersion blender at the bottom of the jar. Start blending on high speed without moving the blender for about 10 seconds. Once the mixture at the bottom begins to emulsify and turn creamy, slowly lift the blender upward to incorporate the remaining oil. Taste and adjust seasoning with additional salt or lemon juice if needed. For a tangier flavor, add a bit more lemon juice or vinegar. Transfer the mayonnaise to a clean, airtight container. Refrigerate and use within 1–2 weeks. These sauces are a simple way to add flavor, freshness, and variety to your plate. Once you get the hang of making them at home, you’ll wonder how you ever went without. Got a favorite? Let me know in the comments—or tag me on Instagram @lisawishmann if you try one out. I’d love to see how you make it your own! Get the Drip: Sauce FAQs You Didn’t Know You Needed What do I eat each of these with? Tzatziki: Perfect with grilled chicken, lamb meatballs, pita, mediterranean bowls, or roasted veggies. Also great as a dip for raw veg or a dollop on top of potatoes. Chimichurri: A classic with grilled steak, but also amazing on chicken, shrimp, eggs, or roasted sweet potatoes. Salsa Verde: Use it on tacos, fish, grilled veg, or as a zesty salad dressing. It adds a bright punch to anything savory… and obviously chips & salsa 🙂 Homemade Mayo: Use as a base for creamy dressings, aioli, or sandwich spreads. It’s also great in tuna or egg salad, and is essential on burger patties. How long will these last in my fridge? Most homemade sauces last 4–7 days in an airtight container in the fridge. Oil- and vinegar-based sauces like chimichurri may last a bit longer (up to 10 days), while dairy-based ones like tzatziki should be used within 4–5 days. If it looks, smells, and tastes fine, it’s probably fine. Can I make these ahead of time and freeze them? Half yes! Chimichurri and salsa verde freeze well in small portions (like an ice cube tray). Mayo and tzatziki don’t freeze well due to their creamy bases. They’ll separate when thawed. What if my mayo doesn’t emulsify? Make sure all ingredients are at room temperature, especially the egg and oil. Blend slowly and steadily as rushing can cause separation. If it breaks, you can slowly whisk it into a fresh egg yolk to rescue it. More Posts Like This No posts found!

Chia Seed Recipe Blog Post
Nutrition & Meal Prep, Recipes

4 Easy Chia Seed Pudding Recipes for Meal Prep and Gut Health

4 Easy Chia Seed Pudding Recipes for Meal Prep and Gut Health April 25, 2025 Simple, nourishing, and endlessly customizable. My easy chia seed pudding recipes are perfect for meal prep and support gut health with fiber and healthy fats. All variations are refreshing, with keep you satiated, and will satisfy your sweet tooth. Be sure to save these healthy breakfast ideas so you can continue to make them as part of your meal prep week after week! Not only are these great for breakfast, you can enjoy these any time of day for a fiber-packed snack or dessert. Classic Coconut Ingredients 1 (13.5 oz / 400 mL) can full-fat coconut milk1/4 – 1/3 cup water (to thin)2 tsp honey4 tbsp chia seedspinch of sea salt Suggested Toppings unsweetened coconut flakeskiwimangoblackberriespassion fruitsliced almondshemp seeds Refreshing Lemon Ingredients 1 (13.5 oz / 400 mL) can full-fat coconut milk1/4 – 1/3 cup lemon juice2 tsp honey4 tbsp chia seedszest of 1 lemonpinch of sea salt Suggested Toppings extra lemon zestchopped pistachiosstrawberriesblackberriesblueberriesculinary lavender Berry Vanilla Ingredients 13.5 oz / 400 mL milk of choice1/4 – 1/3 cup water (to thin)2 tsp honeysmashed mixed berries4 tbsp chia seedssplash of vanilla extractpinch of sea salt Suggested Toppings strawberriesraspberriesblackberriesblueberriesgoji berriesfresh mintfresh basil Chocolate Chai Ingredients 13.5 oz / 400 mL coconut or whole milk1/4 – 1/3 cup water (to thin)1 tsp cacao powder1/2 tsp cinnamonpinch of ground ginger pinch of ground cardamom2 tsp honey or maple syrup4 tbsp chia seedspinch of sea salt Suggested Toppings toasted almondstoasted cashewstoasted coconutcacao nibsfresh figs and now to bring it all together As you have noticed for all of these: the base is the same at 400mL (13.5 ounces) of liquid and 4 tablespoons of chia seeds. You may add a bit more liquid or a bit less chia if you’d like a thinner pudding consistency. The inverse for thicker. Combine all ingredients in a mixing bowl. Let sit on the counter for 10-15 minutes and mix again to break up any clumps that may have formed. Transfer into your food-safe meal prep containers (glass) and refrigerate. Let sit for at least 4 hours or better overnight.  Serve topped with the above suggestions or anything else you have on hand.  Why should you eat chia seeds in the first place? Check out this article from one of my favorite recipe websites, Downshiftology. Three questions I get asked: Should I eat this by itself for breakfast? You can do anything you want, but eating this alone depends on your goals. Chia pudding is high in fiber and healthy fats, but relatively low in protein. For a balanced, complete meal, pair it with another protein source (eggs, any meat, greek yogurt). How can I add protein? Mix in a scoop of your favorite protein powder or collagen. Mix in greek yogurt before eating. Adding nuts and seeds are a great additions for healthy fats and a little extra protein bump. How long will this last in my fridge? Chia pudding keeps well for 4–5 days. Make sure you store it in an airtight container or individual jars for grab-and-go convenience. Stir before serving or add a splash of water if it thickens too much. More Posts Like This No posts found!

Grain Free Granola Blog Post
Recipes

Easy Homemade Grain-Free Granola

Easy Homemade Grain-Free Granola February 2, 2024 A perfectly sweet, crunchy grain-free granola loaded with nuts and seeds. This grain-free granola recipe is one of my OG recipes, back from when The Paleo Diet was all the rage. I believe I originally wrote this in 2013 or 2014, and it has since evolved. There are so many gluten-free and grain-free granola options out there now (Trader Joe’s has one that I particularly enjoy), but there’s just something about homemade that is always… better. If you’re looking for a simple and healthy breakfast option, this is a perfect choice. It’s healthy, naturally gluten-free, and easy to customize with your favorite nuts and seeds. Before we get to the grain-free granola recipe, a few notes: You may swap in or out any nut that you would like, or add more than the ones I have listed, as long as your total nut amount is 3 cups. Raw, unfiltered honey and virgin, cold-pressed coconut oil are my preferences when I state honey and coconut oil, though any type of honey will do. The dried fruit mixed in at the end is optional, and does not have a measurement. Eyeball it, but know more dried fruit will make it sweeter and more chewy versus crunchy. I typically use a small amount apricots, raisins, and craisins. Lisa’s Homemade Grain-Free Granola Ingredients 1/2 cup sunflower seeds1/2 cup pepitas1/2 cup pumpkin seeds1/2 cup almond meal1/4 cup coarse flaxseed meal1 cup almonds, chopped1 cup pecans, chopped1 cup walnuts, chopped   1 1/2 cups unsweetened coconut flakesfew dashes cinnamon 1/2 cup raw, unfiltered honey4 tbsp coconut oil1 tbsp maple syrup1 tsp vanilla extractdried fruit of choice Directions 1. Preheat oven to 325 degrees. 2. Combine all dry ingredients [nuts, seeds, coconut, cinnamon] into a large bowl. 3. Warm a saucepan over medium-low heat. 4. Add honey, coconut oil, maple syrup, and vanilla extract. Gently warm until runny and combined. 5. Pour wet mixture over dry ingredients and mix until well-combined. 6. Place parchment paper on baking sheet and spread granola in a thin layer. Don’t pack it down or together. Leave some of it in clumps and allow some air pockets to form. Bake for 20 minutes. 7. Remove from oven, stir granola and continue to bake until golden brown, 15-20 more minutes. 8. Let cool to room temperature and mix in dried fruit, if desired. 9. Store in an air-tight container for up to one week. Whether you eat it with yogurt, milk, or on its own because it’s that good, this grain-free granola recipe will quickly become a staple in your meal prep routine. More Posts Like This No posts found!

Scroll to Top